If you’re travelling from the UK to Palestine or planning to visit Masjid Al-Aqsa, one of the first things to sort out is your entry permission.
For British citizens travelling on a full British passport, the process is slightly different from applying for a traditional visa. British tourists can currently visit Israel without a standard tourist visa for stays of up to 90 days, but since 1 January 2025 they must obtain an ETA-IL electronic travel authorisation before travelling. GOV.UK
So if you’re a British citizen, this guide explains exactly what you need to do.
Do British Citizens Need an Israeli Visa?
For a normal tourist visit, British citizens do not currently need to apply for a traditional Israeli tourist visa in advance.
Instead, you need to obtain an ETA-IL before you travel.
The ETA-IL is an electronic travel authorisation linked to your passport. It is currently valid for two years and allows visits of up to 90 days at a time, subject to border approval. The current fee is 25 Israeli new shekels. GOV.UK
If you are travelling on a passport other than a full British citizen passport, your requirements may be different.
Step 1: Check Your Passport
Before applying for anything, check that your passport meets the entry requirements.
For British citizens, your passport should currently have an expiry date at least 90 days after the date you arrive in Israel or Palestine. GOV.UK
You should also make sure:
- Your passport is in good condition
- The name on your booking matches your passport
- Your passport has not been reported lost or stolen
- You will travel using the same passport you use for your ETA-IL application
If your passport is close to expiry, it is better to deal with that before applying for your travel authorisation.
Step 2: Apply for an ETA-IL
British citizens must obtain an ETA-IL before travelling.
Apply using the official Israeli immigration system rather than a third-party website that may charge additional fees.
During the application, you will usually need information such as:
- Your full name
- Passport number
- Passport issue and expiry dates
- Date of birth
- Nationality
- Contact details
- Travel information
Enter everything exactly as it appears on your passport.
Small mistakes in your passport number or personal details can cause delays or problems when you travel.
Step 3: Pay the Application Fee
The current ETA-IL fee for eligible travellers is 25 Israeli new shekels. GOV.UK
Be cautious if a website is asking for a much larger amount simply to process the same application.
Once payment has been completed, keep your application confirmation.
Step 4: Wait for Your Approval
Do not leave the application until the day of your flight.
Wait until your travel authorisation has been approved before travelling.
Once approved, keep a copy of the confirmation somewhere easily accessible.
It is sensible to have:
- A copy saved on your phone
- A screenshot that works without internet
- A printed copy if you prefer carrying physical documents
Your ETA-IL is linked electronically to your passport, but keeping the confirmation available can still be useful.
Step 5: Check Your Travel Documents Before Departure
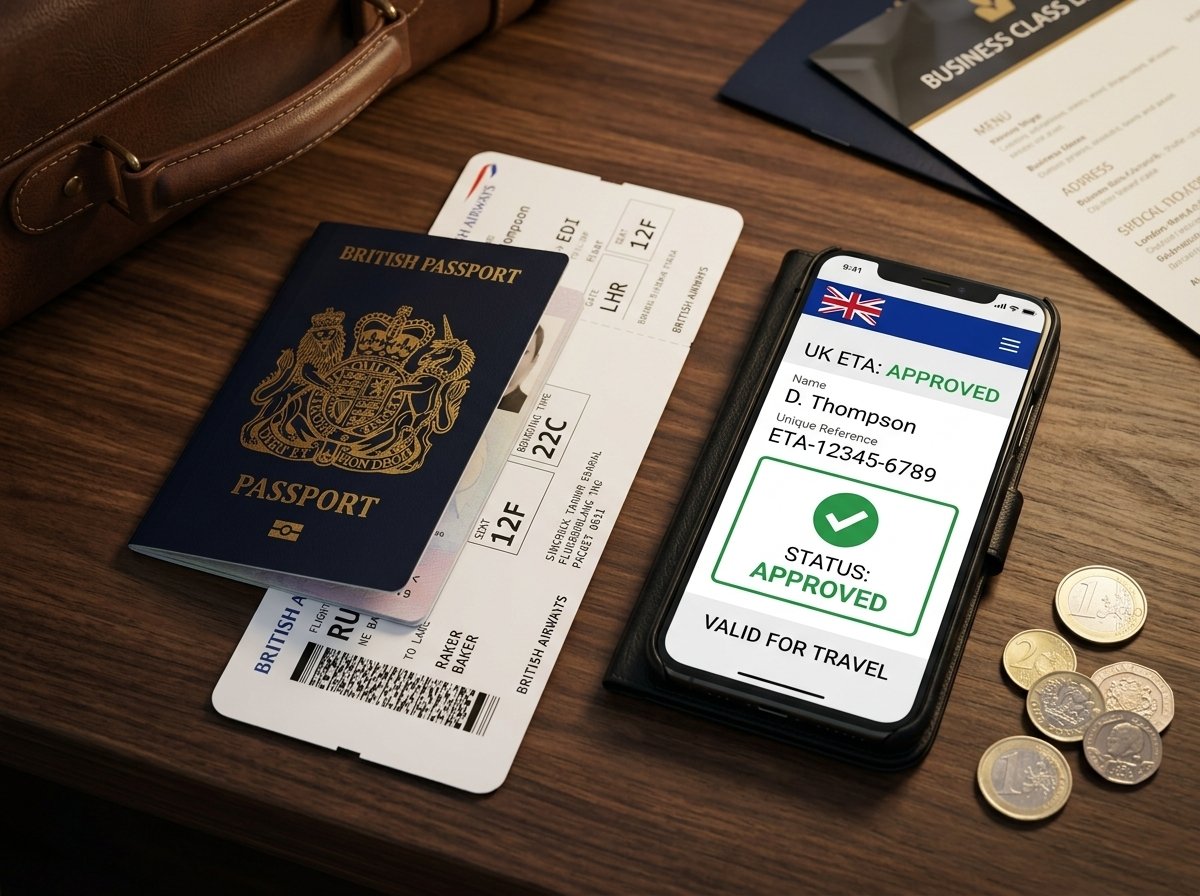
Before leaving for the airport, make sure you have:
- Your valid British passport
- Your ETA-IL approval
- Flight confirmation
- Accommodation or tour information
- Travel insurance details
- Contact details for your tour leader
- Any additional travel documents requested by your tour organiser
Keeping all of this information together makes airport and border checks easier.
Step 6: Arrive With Plenty of Time
Travellers may face additional security checks when flying to Israel, so it is sensible to arrive at the airport earlier than you might for an ordinary European trip.
UK government guidance specifically advises travellers to allow additional time for security procedures at airports. GOV.UK
If you are travelling as part of an Al Kaaf Tours group, follow the meeting time provided by your tour leader rather than relying only on the airline’s normal check-in time.
Step 7: Be Prepared for Border Questions
When you arrive, immigration officers may ask questions about your trip.
You may be asked:
- Why you are visiting
- Where you are staying
- How long you will be staying
- Who you are travelling with
- Which places you intend to visit
- When you are returning to the UK
Answer questions clearly and accurately.
Having an ETA-IL gives you permission to travel, but the final decision on entry is made by the immigration authorities at the border.
Step 8: Keep Your Entry Card Safe
Visitors entering through Ben Gurion Airport are generally issued an entry card rather than receiving a passport stamp.
Keep this card with your passport until you leave.
It acts as evidence that you entered legally and may also be useful when travelling into Palestinian areas. GOV.UK
Do not throw it away after leaving the airport.
What If You Are Not a British Citizen?
If you live in the UK but travel on another nationality’s passport, do not assume the British citizen rules apply to you.
Depending on your nationality, you may:
- Be eligible for ETA-IL
- Need a traditional Israeli visitor visa
- Have additional entry requirements
Always check the rules for the actual passport you intend to travel on.
What If You Have Dual Nationality?
Dual nationals may have different entry requirements depending on which passports they hold.
If you hold more than one nationality, check which passport you should use for your journey and make sure your ETA or visa matches the passport you present at the border.
UK government travel guidance also advises dual nationals to check the relevant entry rules before travelling. GOV.UK
Travelling to Masjid Al-Aqsa
For Al Kaaf travellers, the purpose of the journey will often be to visit Palestine and Masjid Al-Aqsa.
Entry arrangements, border procedures and access conditions can change, so make sure you follow the instructions given by your Al Kaaf Tours group leader.
It is also important to remember that having a flight, hotel booking and ETA-IL does not guarantee access to every location during your journey.
Local restrictions can sometimes affect travel plans.
Your British Citizen Checklist
Before travelling, check that you have:
- A full British citizen passport
- At least 90 days remaining on your passport from your arrival date
- An approved ETA-IL
- Your flight details
- Your accommodation or tour confirmation
- Travel insurance
- Your tour leader’s contact details
- Copies of important documents
- Your return travel information
Once those are sorted, keep everything together and easily accessible during your journey.
Final Advice
For most British citizens travelling as tourists, the process is now relatively straightforward:
You do not normally need a traditional Israeli tourist visa. You need a valid British passport and an approved ETA-IL before travelling.
Because entry requirements can change, travellers should still check official guidance before departure and follow any instructions provided by their tour organiser.